Welcome to our guide on how to perfectly blanch green beans in five simple steps.
Blanching is a cooking technique that involves quickly cooking vegetables in boiling water, followed by adding them to ice water to discontinue cooking
This method helps to preserve the bright color and crunch of green beans, making them a delicious addition to any meal.
With our step-by-step guide, you’ll be able to achieve perfectly blanched green beans every time. So, let’s get started!
Understanding the Basics: What is Blanching?
Blanching is a cooking technique that involves quickly cooking vegetables in boiling water followed by adding them to ice water to discontinue cooking.
Why is it necessary for certain vegetables, like green beans?
Blanching serves several important purposes when it comes to cooking green beans.
Preserve Color
First and foremost, it helps to preserve their vibrant color.
The quick cooking in boiling water helps to lock in the natural pigments that give green beans their vibrant green hue.
By transferring them to ice water immediately after blanching, the cooking process is stopped, ensuring that the beans retain their bright color and don’t become dull or discolored.
Crispness and Crunch
Blanching also helps to preserve the crispness and crunch of green beans. When vegetables are blanched, the heat penetrates the cell walls and softens them slightly, making the beans more tender.
However, the rapid cooling in ice water shocks the beans and prevents them from becoming overly soft or mushy. The end result is perfectly cooked green beans that have a delightful texture and bite.
Food Safety
In addition to preserving color and texture, blanching is also important for food safety.
The quick cooking and cooling process helps to kill any bacteria or pathogens present on the surface of the green beans, making them safe to eat.
So, How long?
The duration can vary slightly depending on the size and freshness of the beans, but as a general guideline, you should blanch them for about 2 to 3 minutes.
This short cooking time is enough to soften the beans slightly without making them overly tender.
Now that you understand the basics of blanching and its importance for green beans, let’s move on to the necessary equipment you’ll need to blanch them perfectly.
The Necessary Equipment for Blanching Green Beans
To successfully blanch green beans, you’ll need a few essential tools and ingredients.
These items will make the blanching process smooth and efficient, ensuring that you achieve perfectly cooked beans every time.
Pot or Saucepan?
First and foremost, you’ll need a large pot or saucepan to bring the water to a rolling boil. Choose a pot that is deep enough to accommodate the green beans without overcrowding them.
This will allow the beans to cook evenly and ensure that they are fully submerged in the boiling water. A pot with a lid is also recommended to help bring the water to a boil more quickly.
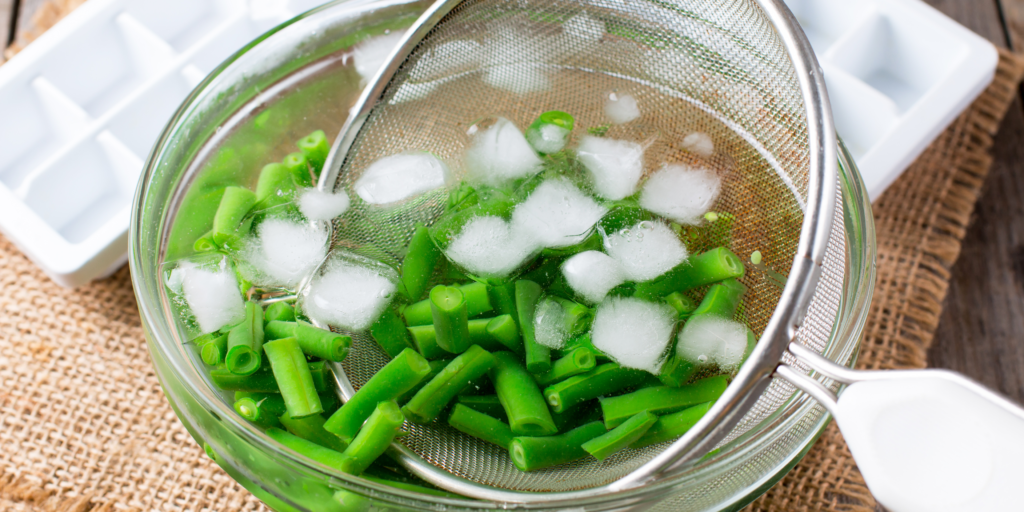
Large Bowl
Next, you’ll need a large bowl filled with ice water. This will serve as the immediate destination for the blanched green beans.
The ice water will stop the cooking process and help to preserve the vibrant color and crunch of the beans.
Make sure the bowl is large enough to hold all of the beans and has enough ice to keep the water cold throughout the blanching process.
Colander
A colander or strainer will also come in handy.
This will allow you to easily transfer the blanched green beans from the pot to the ice water.
The colander will also help to drain excess water from the beans after they have been blanched.
Tongs or Slotted Spoon
Additionally, you’ll need a pair of tongs or a slotted spoon.
These tools will help you safely and efficiently transfer the green beans from the pot to the ice water without burning yourself.
Tongs or a slotted spoon are preferable over regular spoons because they allow you to easily pick up and drain the beans without taking on excess water.
Timer
Lastly, make sure you have a timer or clock on hand.
Timing is crucial when blanching green beans, and it’s important to have a reliable way to track the cooking time.
A timer will help you achieve the perfect texture and ensure that you don’t overcook or undercook the beans.
With these essential tools and ingredients, you’ll be well-equipped to tackle the blanching process and achieve perfectly cooked green beans every time.
So gather your equipment and get ready to take your green bean dishes to the next level!
Choosing and Preparing Your Green Beans
Now that you understand the basics of blanching and have all the necessary equipment ready, it’s time to choose and prepare your green beans.
Selecting Beans
This step is crucial in ensuring that you achieve perfectly blanched green beans with a vibrant color and delightful texture.
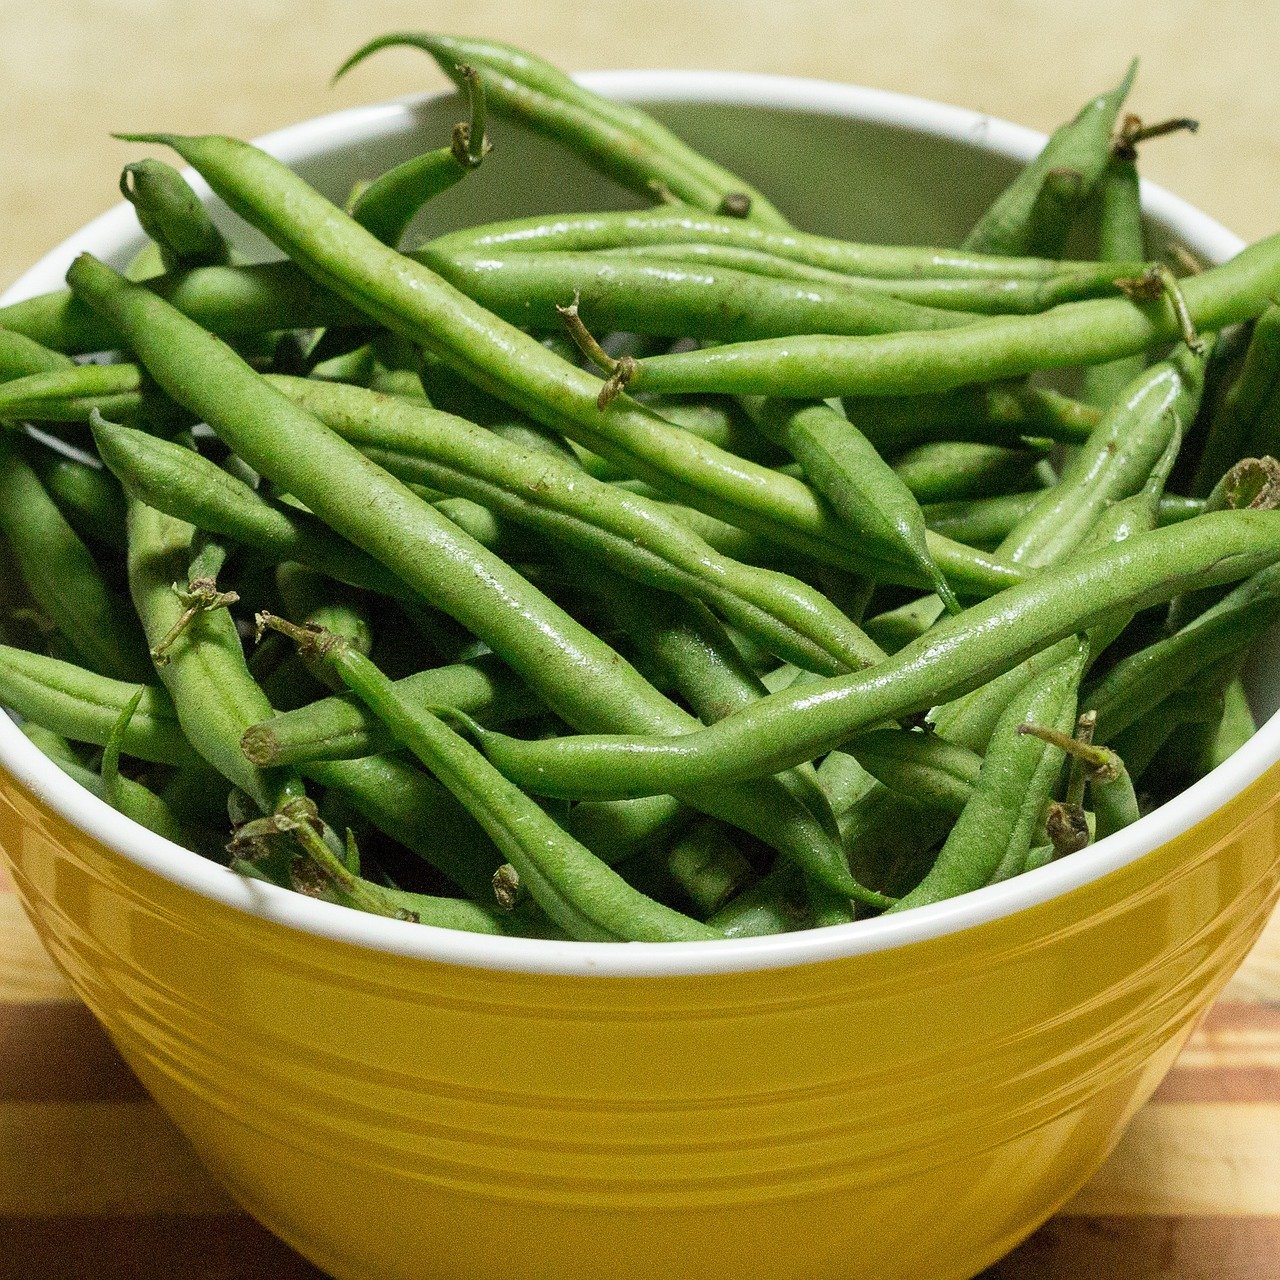
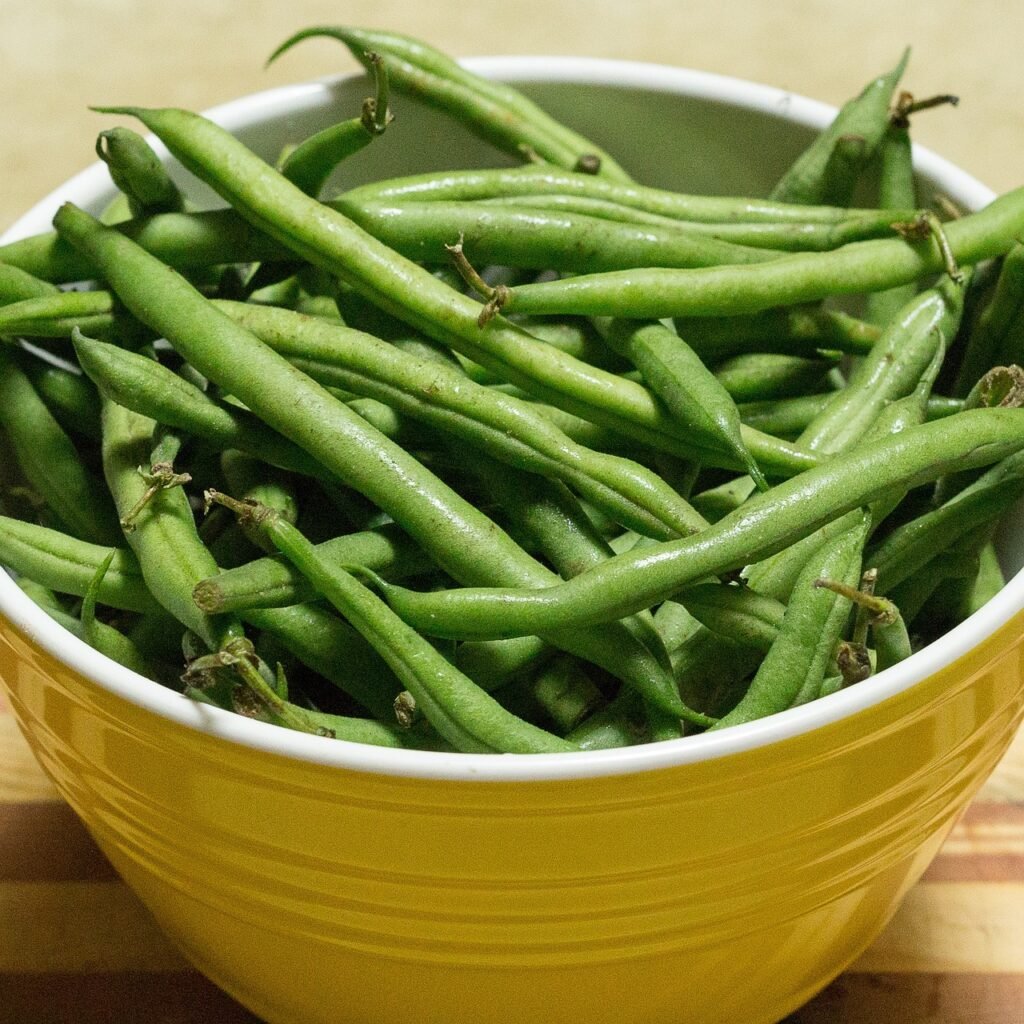
When selecting green beans, look for ones that are bright green in color, firm, and free from blemishes or spots.
Fresh green beans will have a crisp snap when broken and a vibrant appearance.
Avoid beans that are dull, discolored, or have shriveled ends, as these are signs of age and may not produce the best results when blanching.
Washing
Once you’ve chosen your green beans, it’s important to wash them thoroughly before blanching.
After washing, you may choose to trim the ends of the beans, especially if they are tough or have any brown spots.
Some people prefer to leave the ends intact for aesthetic purposes, but trimming can help ensure even cooking and a consistent texture.
Cutting
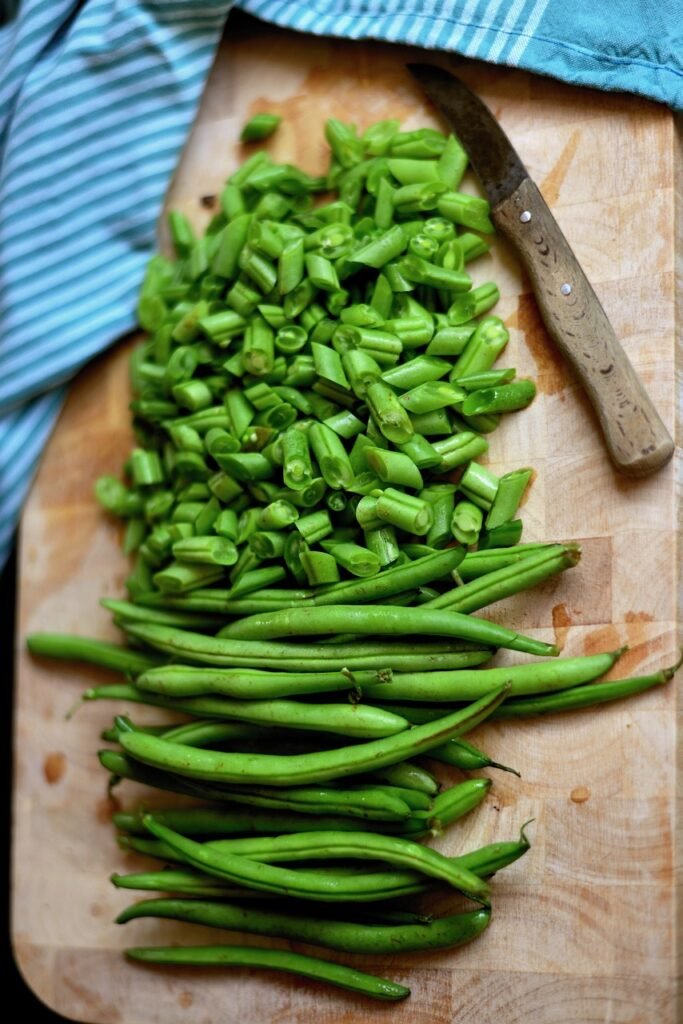
If your green beans are particularly long, you may also want to consider cutting them into smaller, more manageable pieces.
This can help with even cooking and make it easier to serve or incorporate them into different dishes later on.
Aim for pieces that are approximately 2 to 3 inches in length for optimal results.
Once your green beans are washed, trimmed, and cut if necessary, they are now ready to be blanched.
Remember, blanching is a quick cooking process, so make sure you have all your equipment ready and prepared.
The next section of this guide will take you through the step-by-step process of blanching green beans, so let’s move on and get those green beans perfectly cooked!
A Step-by-step Guide to Blanching Green Beans
Blanching green beans may seem like a daunting task, but with our step-by-step guide, you’ll be able to achieve perfectly blanched beans every time.
Follow these simple instructions to take your green beans from ordinary to extraordinary!
Step 1: Prepare the water
Start by filling a large pot with water and bring it to a rolling boil. The water should be deep enough to fully submerge the green beans.
Step 2: Add salt (optional)
If desired, you can add a pinch of salt to the boiling water. This can enhance the flavor of the beans, but it’s completely optional.
Step 3: Blanch the beans

Carefully add the green beans to the boiling water and let them cook for about 2 to 3 minutes.
Step 4: Transfer to ice water
Using tongs or a slotted spoon, quickly transfer the blanched green beans to a bowl filled with ice water. This will immediately stop the cooking process and help them retain their vibrant color and crunch. Let them sit in the ice water for about 2 minutes.
Step 5: Drain and enjoy
Once the green beans have cooled in the ice water, transfer them to a colander or strainer to drain off any excess water.
That’s it!
With these simple steps, you can achieve perfectly blanched green beans every time.
Remember, the cooking time may vary slightly depending on the size and freshness of the beans, so keep a close eye on them to avoid overcooking.
Now go ahead and try blanching green beans for yourself – you won’t believe the difference it makes in terms of color, texture, and taste!
In the next section, we’ll provide you with some useful tips and tricks to help you master the art of blanching green beans.
So keep reading to become a blanching pro in no time!
Useful Tips for Perfectly Blanching Green Beans
Now that you know the basics of blanching and have mastered the step-by-step process, it’s time to take your green bean blanching skills to the next level with some useful tips and tricks.
These tips will help you achieve even better results and make your blanched green beans truly exceptional.
1. Freshness is key:
When it comes to blanching green beans, fresh is always best. Look for beans that are bright green, firm, and free from blemishes.
Fresh beans not only have a better flavor, but they also retain their color and texture better during the blanching process.
2. Timing is crucial:
Green beans can go from perfectly tender to overcooked in a matter of seconds.
Aim for a cooking time of 2 to 3 minutes, but adjust accordingly based on the size and freshness of your beans.
To test for doneness, you can simply bite into a bean and check if it’s cooked to your liking.
3. Don’t overcrowd the pot:
When blanching green beans, it’s important not to overcrowd the pot.
This can result in uneven cooking and soggy beans.
Give the beans enough space to move freely in the boiling water, ensuring that they cook evenly and retain their crunch.
4. Shock with cold water:
After blanching the beans, make sure to immediately transfer them to a bowl of ice water.
This stops the cooking process and helps the beans retain their vibrant color and crunch.
Keep the beans in the ice water for about 2 minutes before draining them.
5. Dry before storing or using:
Before storing or using the blanched green beans, make sure to pat them dry with a clean kitchen towel or paper towels.
Excess moisture can make the beans soggy and dilute their flavor. Dry beans will also be easier to incorporate into recipes or serve as a side dish.
By following these useful tips, you’ll be able to elevate your blanched green beans to a whole new level.
With practice, you’ll become a blanching pro and be able to enjoy perfectly cooked green beans every time.
So go ahead and put these tips to use in your next cooking adventure – your taste buds will thank you!
Creative Ways to Serve Blanched Green Beans
Blanching green beans is a fantastic way to preserve their vibrant color and crisp texture.
But what do you do with those perfectly blanched beans once they’re ready?
Don’t worry, we’ve got you covered with some creative ways to serve and enjoy your blanched green beans!
1. Green Bean Salad:
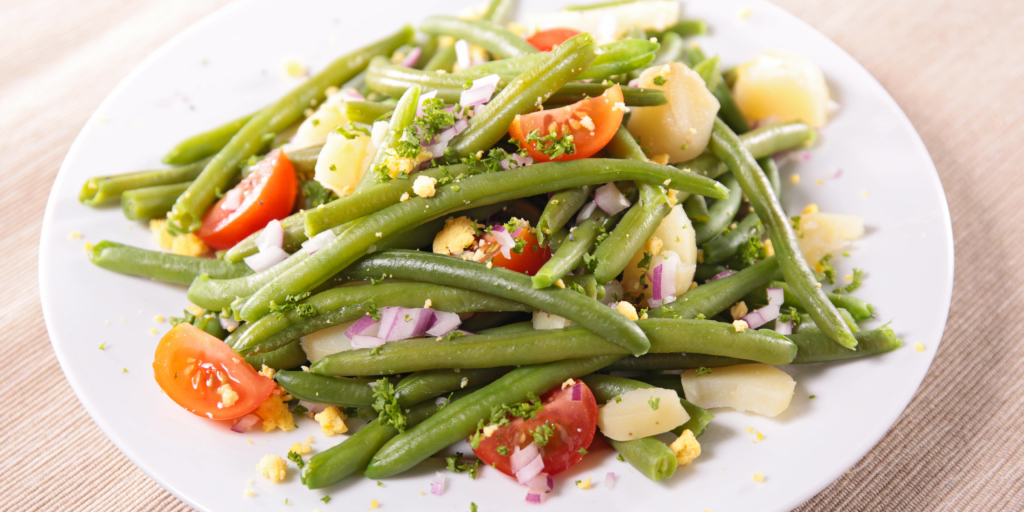
Toss your blanched green beans with a simple vinaigrette and your favorite salad ingredients. Add cherry tomatoes, sliced red onions, feta cheese, and a handful of fresh herbs for a refreshing and satisfying salad.
2. Green Bean Stir-Fry:

Sauté your blanched green beans with some garlic, ginger, and soy sauce for a quick and delicious stir-fry. Add some tofu, shrimp, or chicken for added protein, and serve over steamed rice or noodles.
3. Green Bean and Goat Cheese Tart:
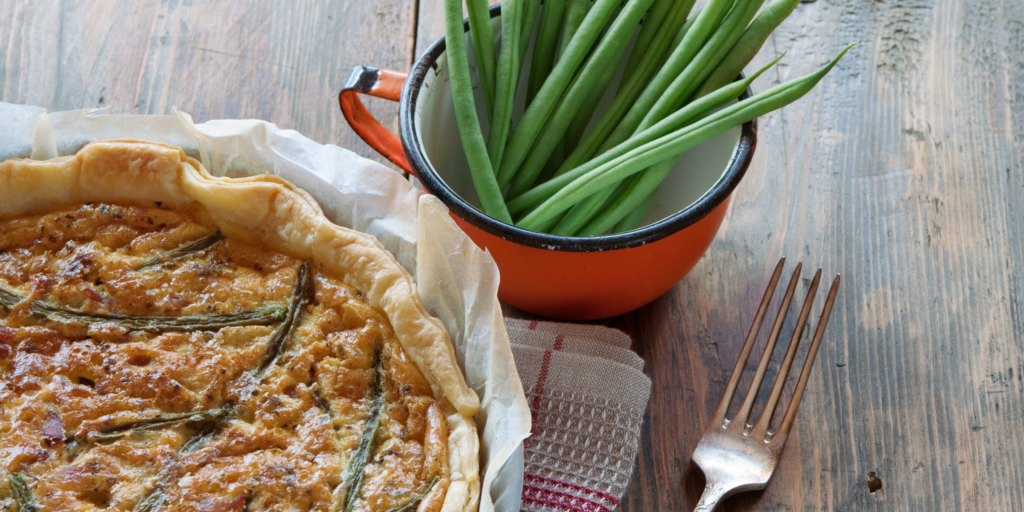
Use your blanched green beans as a topping for a savory tart.
Spread some goat cheese or ricotta onto a puff pastry, arrange the beans on top, and bake until golden and crispy.
Sprinkle with fresh herbs for an extra burst of flavor.
4. Green Bean Slaw:

Slice your blanched green beans thinly and mix them with shredded cabbage, carrots, and a tangy dressing.
This colorful slaw makes a great side dish or topping for sandwiches and burgers.
5. Green Bean Pasta:
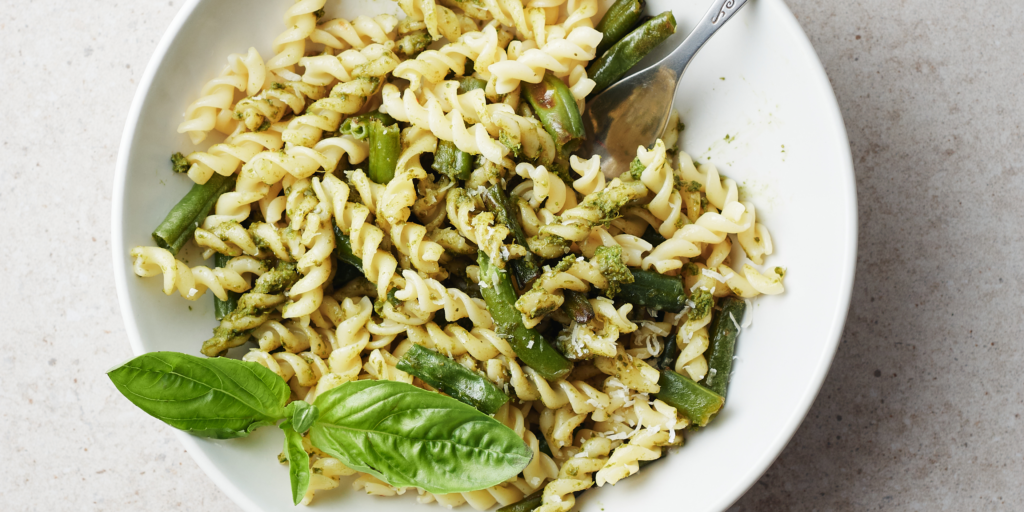
Toss your blanched green beans with cooked pasta, olive oil, garlic, and Parmesan cheese.
Add some cherry tomatoes or sun-dried tomatoes for a burst of flavor.
This simple yet satisfying pasta dish is perfect for a quick weeknight meal.
6. Green Bean Skewers:
Thread your blanched green beans onto skewers and grill them for a few minutes until lightly charred.
Serve them as a tasty side dish or as part of a summer barbecue spread.
7. Green Bean and Quinoa Salad:
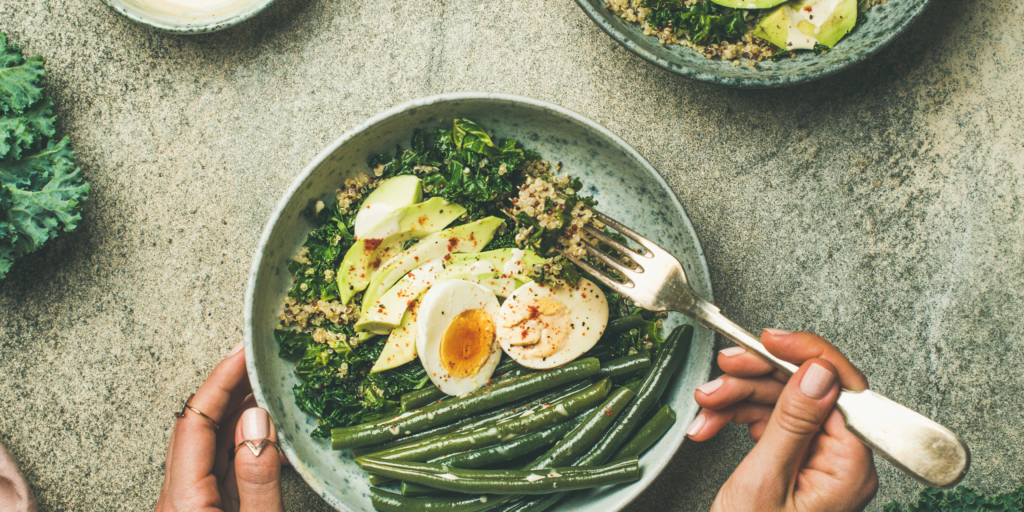
Combine your blanched green beans with cooked quinoa, diced cucumbers, cherry tomatoes, and a zesty lemon dressing.
This nutritious and filling salad makes a great lunch or light dinner.
There are so many creative ways to serve and enjoy your blanched green beans.
Whether you’re looking for a refreshing salad, a hearty stir-fry, or a flavorful side dish, these ideas will inspire you to take your green bean dishes to the next level.
Related Articles
How Long to Boil Sweet Potatoes for That Fluffy, Creamy Texture
Purple Cabbage Recipes to Make Your Taste Buds Dance
Healthy Habits Start with Clean Fruit: How to Clean Fruit Like a Pro
As an Amazon Associate, I earn from qualifying purchases.