When it comes to giving your kitchen a fresh new look, painting your cabinets can make a huge difference.
But with so many options available, it can be overwhelming to choose the best paint for kitchen cabinets.
In this blog post, we’ll discuss essential tips and recommendations to help you make the right choice for your kitchen renovation project.
Understanding the Different Types of Paint
Embarking on a kitchen cabinet makeover begins with selecting the appropriate type of paint, which is crucial for both the appearance and longevity of your cabinets.
The most prevalent paints used for cabinet projects are oil-based, latex, and acrylic paints, each offering unique benefits to cater to various needs and preferences.
Oil-based paints
Oil-based paints are celebrated for their durability and resistance to wear and tear, making them a favored choice for kitchen cabinets that face frequent use.
They provide a smooth, hard finish that stands up well against stains and grease, attributes highly valued in the bustling environment of a kitchen.
However, it’s important to note that oil-based paints have a longer drying time and emit strong fumes, requiring adequate ventilation during application and curing.
Latex paints
Latex paints, on the other hand, are water-based and boast a quicker drying time compared to their oil-based counterparts.
They are less odorous and easier to clean up, which can be a significant advantage for DIY enthusiasts.
While not as resilient as oil-based paints, high-quality latex paints can still offer considerable durability and resistance to the everyday challenges faced by kitchen cabinets.
Acrylic paints
Acrylic paints are a subset of latex paints but are specifically formulated to offer superior adhesion, flexibility, and color retention.
These attributes make acrylic paints an excellent choice for kitchen cabinets, as they can effectively withstand moisture and temperature changes without cracking or fading over time.
When deciding between these types of paint, consider the specific conditions of your kitchen, your durability requirements, and whether the ease of application and maintenance is a priority for you.
Each type of paint has its own set of preparation and application procedures, which can influence the final outcome of your project.
Ultimately, understanding the distinctive qualities and advantages of oil-based, latex, and acrylic paints will empower you to make an informed decision that aligns with your vision for your kitchen’s new look.
The Importance of Prep Work Before Painting
Embarking on a kitchen cabinet painting project demands meticulous preparation to guarantee a finish that is not only aesthetically pleasing but durable.
The foundation of a successful painting job lies in the painstaking process of prepping the cabinet surfaces ahead of any paint application.
This prep work involves a series of steps designed to ensure the cabinets are pristine, smooth, and ready to bond with the paint, setting the stage for a flawless finish.
Step 1 – Clean and Degrease
Firstly, it’s imperative to clean and degrease the cabinets thoroughly.
Kitchen cabinets are exposed to cooking oils, grease, and various other substances that can impair paint adhesion.
Using a degreasing cleaner, scrub every inch of the cabinet surfaces to remove these residues.
For stubborn areas, a mixture of warm water and mild detergent can be effective.
After cleaning, a rinse with clean water is necessary to remove any soap residue.
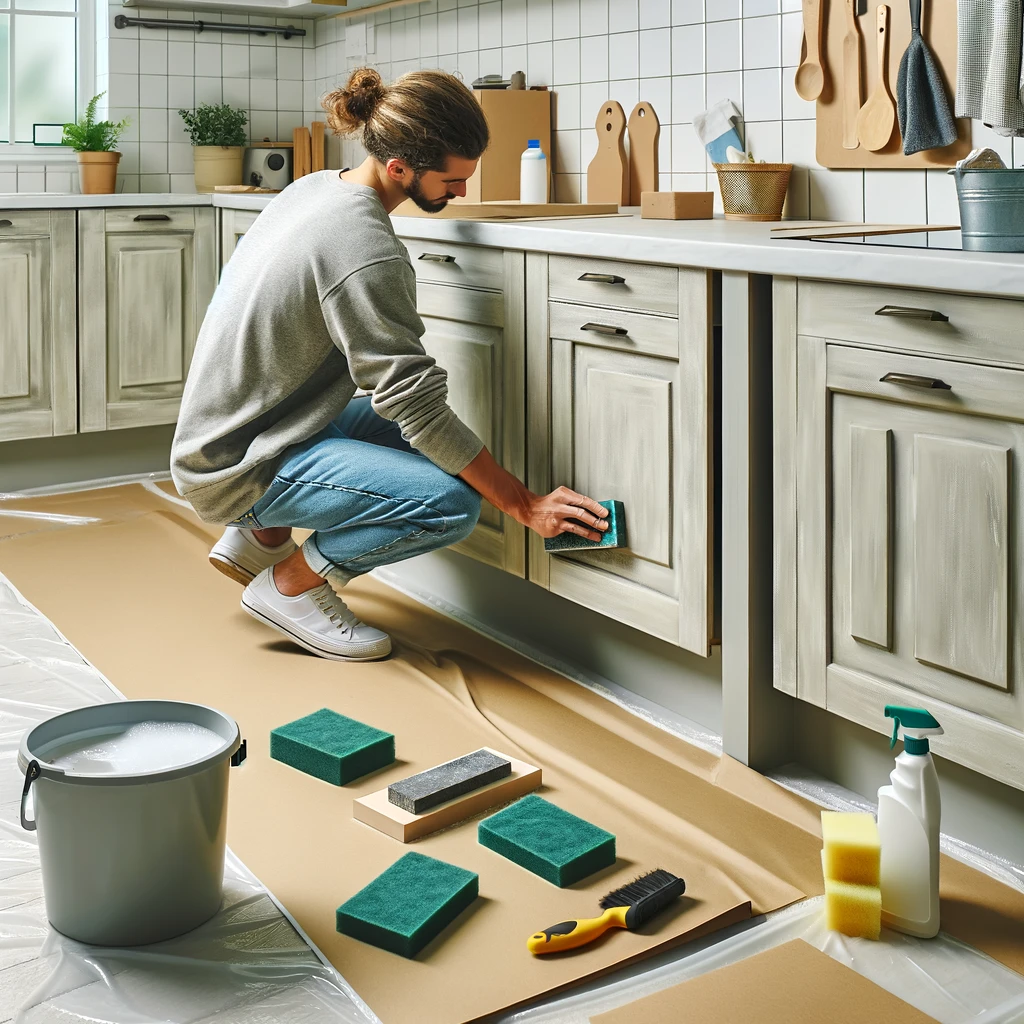
Step 2 – Sanding
Next, comes the sanding process.
This step is critical for smoothing out any imperfections and creating a surface that paint can easily adhere to.
Using fine-grit sandpaper, gently sand the cabinet surfaces, focusing on rough spots, ridges, or previous drips from old paint jobs.
The goal is not to strip the cabinets bare but to roughen the surfaces enough to enhance paint adherence.
After sanding, it’s crucial to wipe down the cabinets with a tack cloth or damp rag to remove all the dust and debris, leaving a clean surface for priming.
Step 3 – Priming
Priming is the next vital step in the prep work process.
A high-quality primer can significantly improve paint adhesion, provide a more uniform color base, and increase the durability of the paint job.
It’s particularly important when transitioning from a dark to a light color or when working with porous wood that tends to absorb paint unevenly.
Skipping any of these preparation steps can lead to a less than desirable outcome, such as paint peeling, chipping, or an uneven finish.
The commitment to thorough prep work is an investment in the longevity and beauty of your kitchen cabinets, setting a solid foundation for the paint application that follows.
Selecting the Right Sheen for Your Kitchen Cabinets
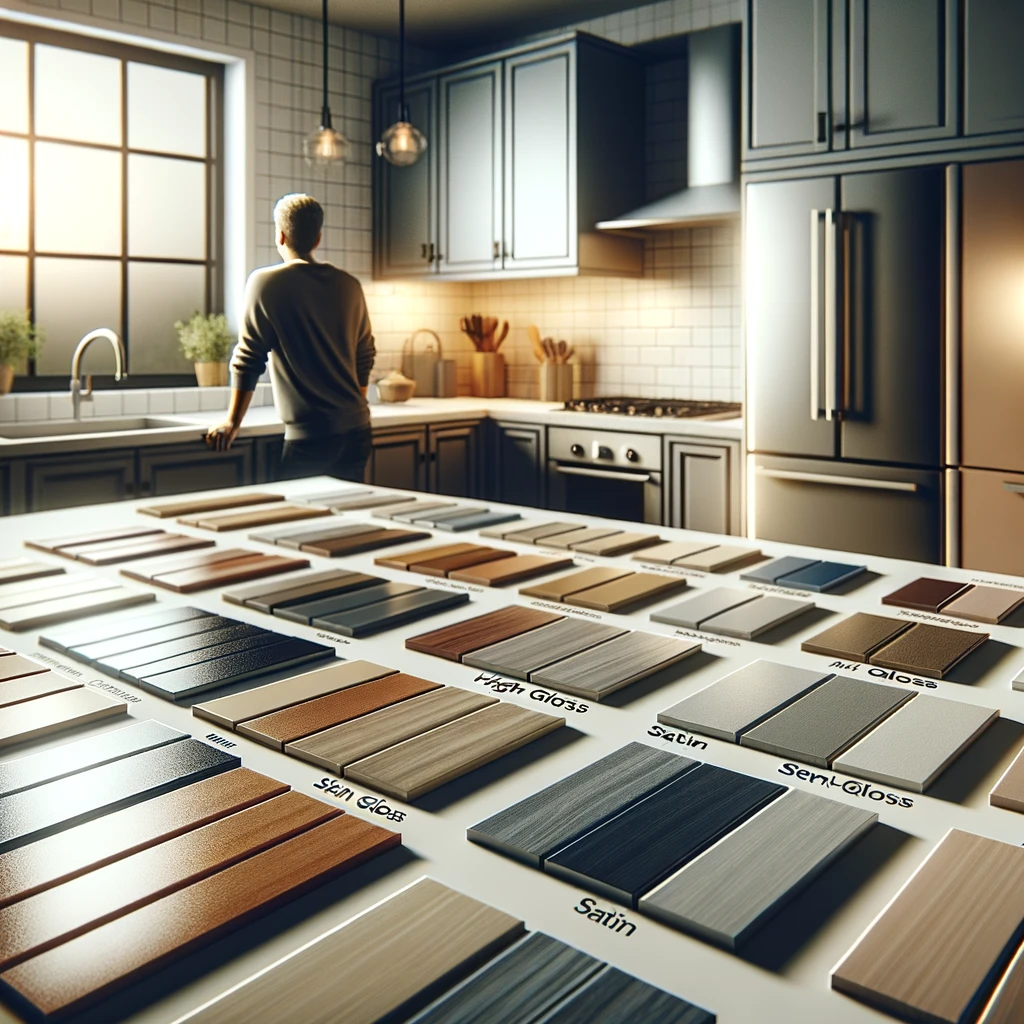
The choice of sheen for your kitchen cabinets plays a pivotal role in achieving the desired ambiance and functionality in your kitchen space.
Sheen, essentially the paint’s finish, affects both the aesthetic appeal and the practicality of your cabinets.
It ranges from high gloss to matte, with several variations in between, such as semi-gloss and satin.
High-gloss
High-gloss finishes are celebrated for their reflective qualities, making them excellent choices for smaller kitchens as they help to reflect light, thereby creating the illusion of a larger space.
This type of sheen is also the most durable and easiest to clean, making it ideal for kitchen environments where moisture and stains are prevalent.
However, it’s worth noting that high-gloss paint can highlight imperfections in the cabinet surface, so a thorough prep job is essential.
Semi-gloss
Semi-gloss sheens are a step down in reflectivity from high gloss and offer a good balance between ease of cleaning and subtlety in appearance.
They are less prone to showing smudges and fingerprints compared to their glossier counterparts, making them a practical option for busy kitchens.
Satin
Satin finishes strike a harmonious balance between matte and gloss, offering a slight sheen without the high reflectivity of gloss finishes.
This sheen is favored for its ability to conceal imperfections while still being relatively easy to clean, making it a versatile option for many homeowners.
Matte or flat
Matte or flat finishes, while beautiful and trendy, offer the least resistance to stains and are more challenging to clean.
They are best suited for low-traffic kitchens or on cabinet surfaces not subjected to frequent handling.
This sheen absorbs light rather than reflecting it, offering a sophisticated and understated look that hides surface imperfections well.
When making your selection, factor in your kitchen’s activity level, cleaning habits, and the visual effect you wish to achieve.
Each sheen has its advantages and specific care requirements, so consider what will best meet your needs and match your lifestyle to ensure that your kitchen cabinets are both beautiful and functional.
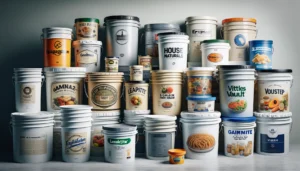
Top Recommended Paint Brands for Kitchen Cabinets
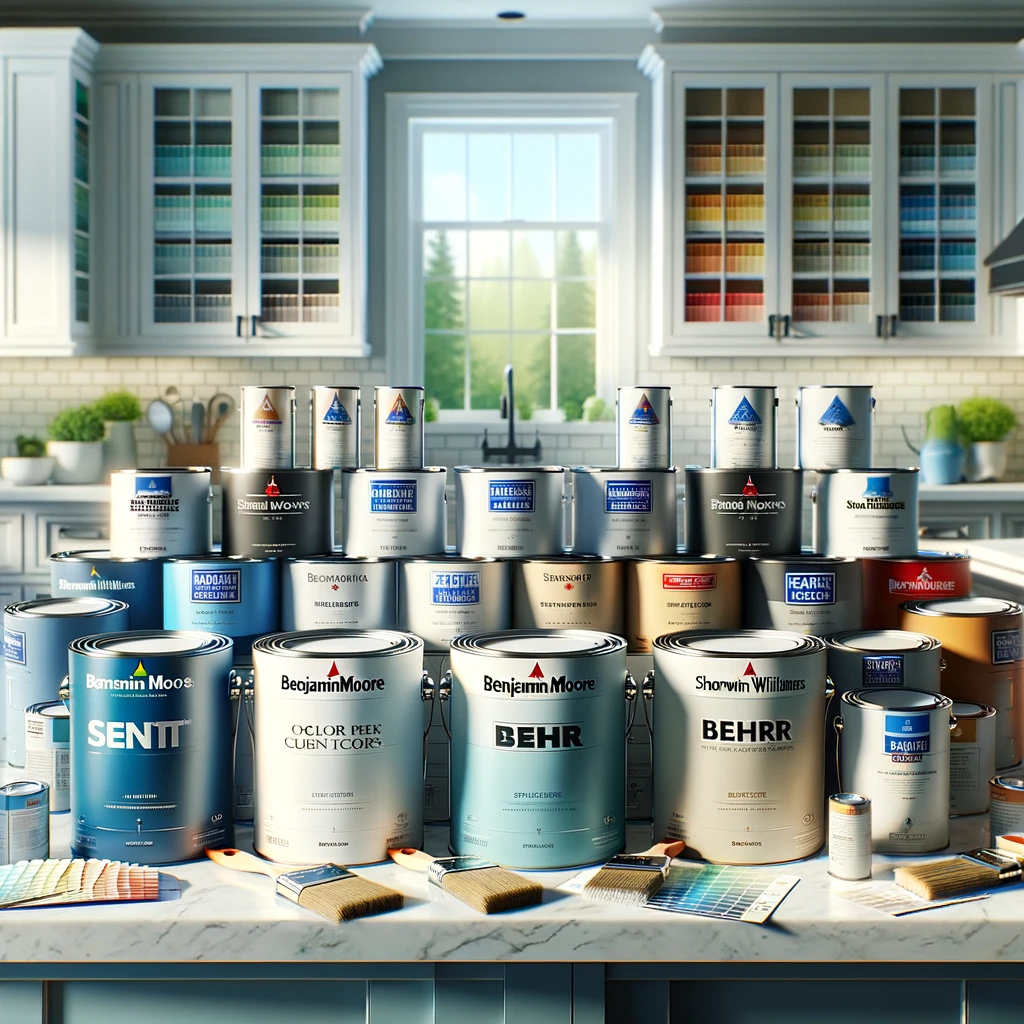
Selecting the right brand of paint is a pivotal decision in your kitchen cabinet makeover.
Quality and durability are the benchmarks that distinguish the best paints for such a crucial home improvement project.
Renowned for their excellence and reliability, Benjamin Moore, Sherwin-Williams, and Behr stand out as the leading choices among homeowners and professional decorators alike.
Benjamin Moore’s Advance line
Benjamin Moore’s Advance line is particularly noteworthy for kitchen cabinets, offering a unique blend of oil and water, which results in a durable, yet low VOC (Volatile Organic Compounds) formula.
This paint provides a hard, furniture-like finish, ideal for the rigorous demands of kitchen wear and tear.
The extensive color palette available ensures that you will find the perfect shade to match your kitchen’s aesthetic.
Sherwin-Williams
Sherwin-Williams provides another excellent option with its ProClassic Interior Acrylic Latex.
This line is celebrated for its smooth application and self-leveling properties, minimizing brush marks and ensuring a professional-grade finish.
Its robust formula is designed to withstand the frequent cleaning and heavy use typical in kitchen environments, all while maintaining a beautiful finish over time.
Behr’s Urethane Alkyd Satin Enamel
Behr’s Urethane Alkyd Satin Enamel, available through The Home Depot, marries the easy clean-up of a water-based paint with the hardy endurance of an oil-based option.
It’s an ideal choice for those looking for a paint that combines usability with resilience. Behr offers a spectrum of colors, enabling homeowners to keep up with current trends or opt for timeless hues.
While the choice between these brands may come down to personal preference or specific project requirements, each offers qualities that can elevate the look and longevity of your kitchen cabinets.
Investing in a high-quality paint brand will not only enhance the beauty of your kitchen but also protect your cabinets, ensuring they stand up to daily use and remain a focal point of your home for years to come.
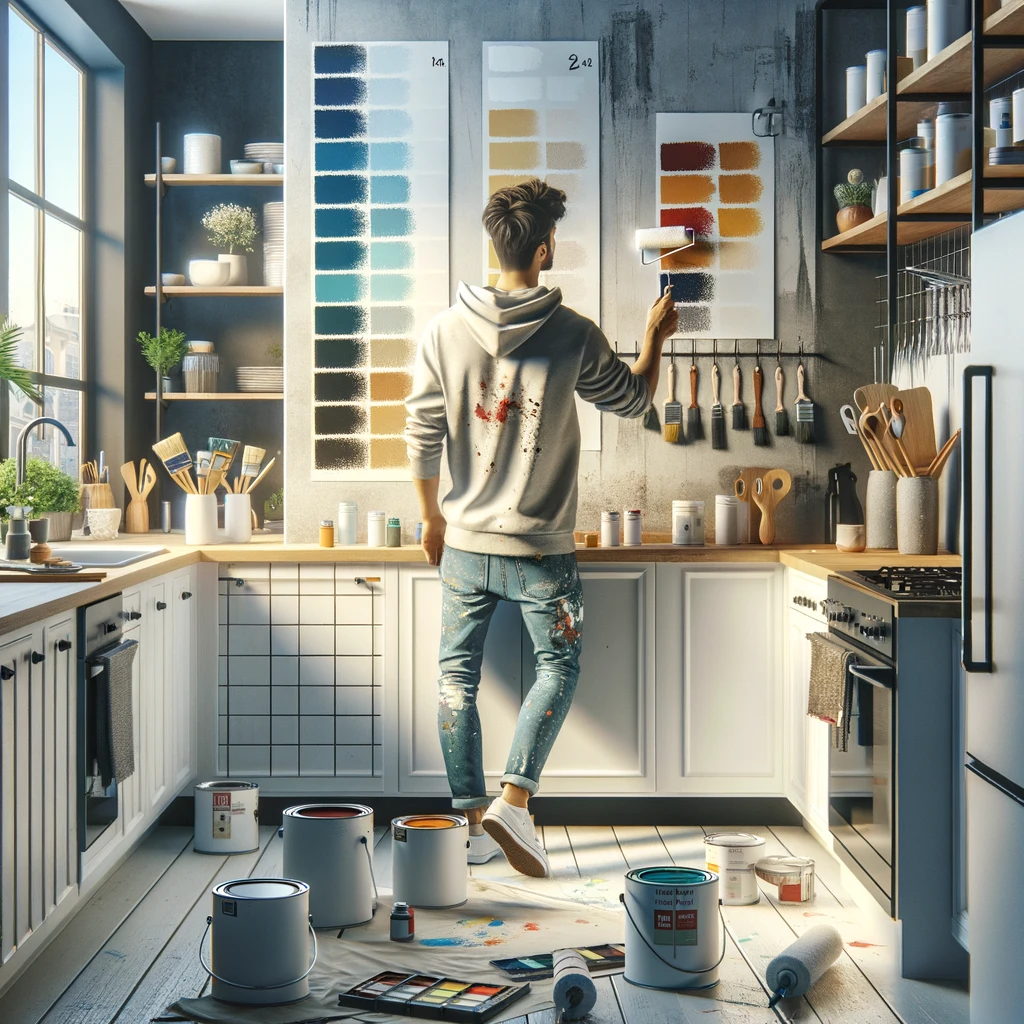
Color Trends and How to Choose the Right One
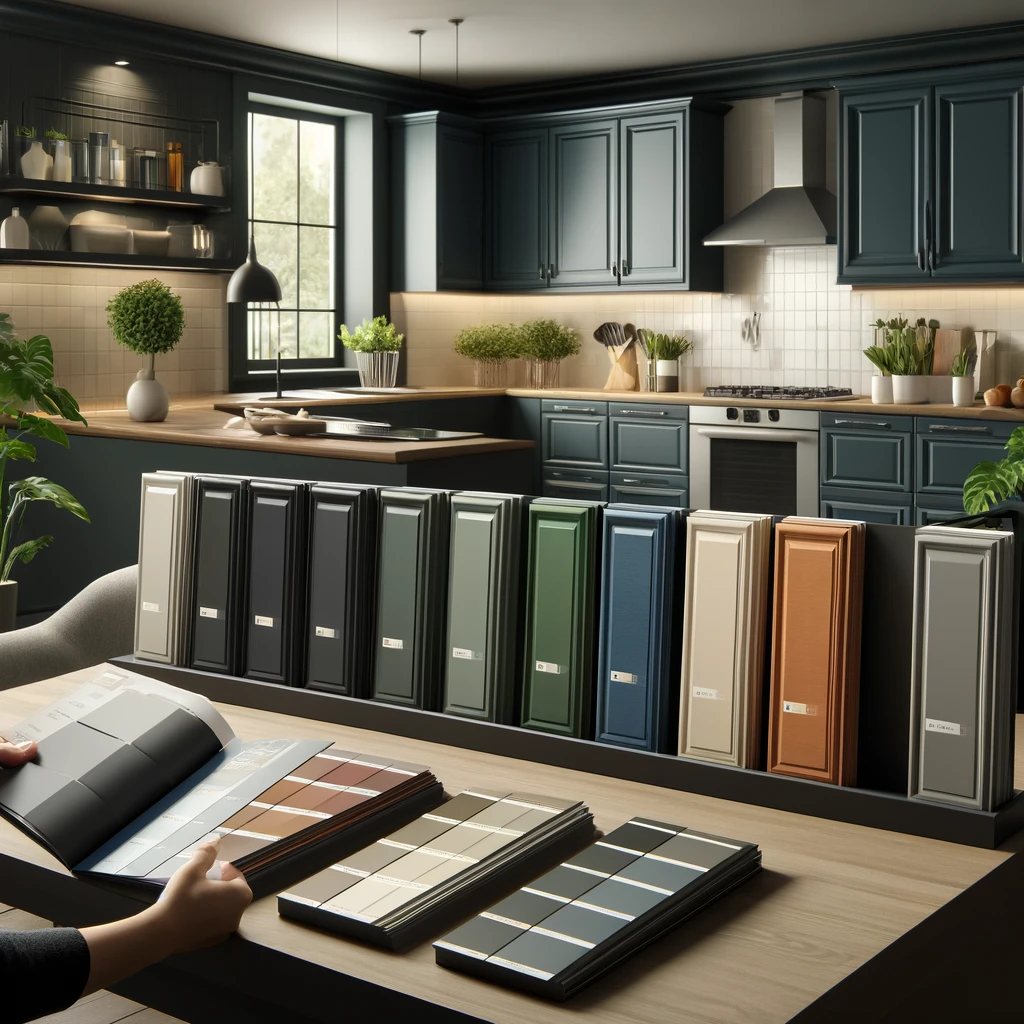
In the dynamic world of kitchen design, staying abreast of color trends can significantly impact the overall vibe of your space.
Timeless Neutrals
While timeless neutrals such as whites, grays, and soft beiges continue to dominate, there’s a growing appetite for bolder, more dramatic colors.
Navy Blue
Navy blue, a rich and sophisticated hue, and emerald green, with its lush and inviting tone, are emerging as popular choices for those looking to inject personality and depth into their kitchens.
The key to selecting the right color lies in balancing current trends with your personal style and the existing elements of your kitchen.
Smaller Spaces
If your space is smaller or lacks natural light, you might consider lighter shades or neutrals to create a sense of openness and brightness.
Larger Spaces
For larger, well-lit kitchens, experimenting with dark or vibrant colors can add a layer of elegance or excitement to the room.
Long-term Appeal
Also, think about the long-term appeal of the color you choose.
While it’s tempting to go with the trendiest shade, remember that your cabinets will be in place for many years.
Opting for a color that you genuinely love, rather than one that’s simply in vogue, can ensure that your kitchen remains a cherished space in your home.
Paint Finish
Another consideration is the finish of your paint, as this can influence both the appearance and functionality of your cabinets.
High-gloss finishes can complement bolder colors by adding sheen and vibrancy, whereas matte finishes might better serve softer, neutral tones by enhancing their warmth and texture.
Impact on Hardware
Lastly, don’t overlook the impact of hardware.
Switching out knobs, pulls, and handles can further personalize your space and complement your new cabinet colors.
Whether you choose a color that’s trendy or timeless, ensuring it reflects your personal style and works cohesively with the rest of your kitchen’s design is key to creating a space you’ll enjoy for years to come.
Tips for Achieving a Professional-Looking Finish
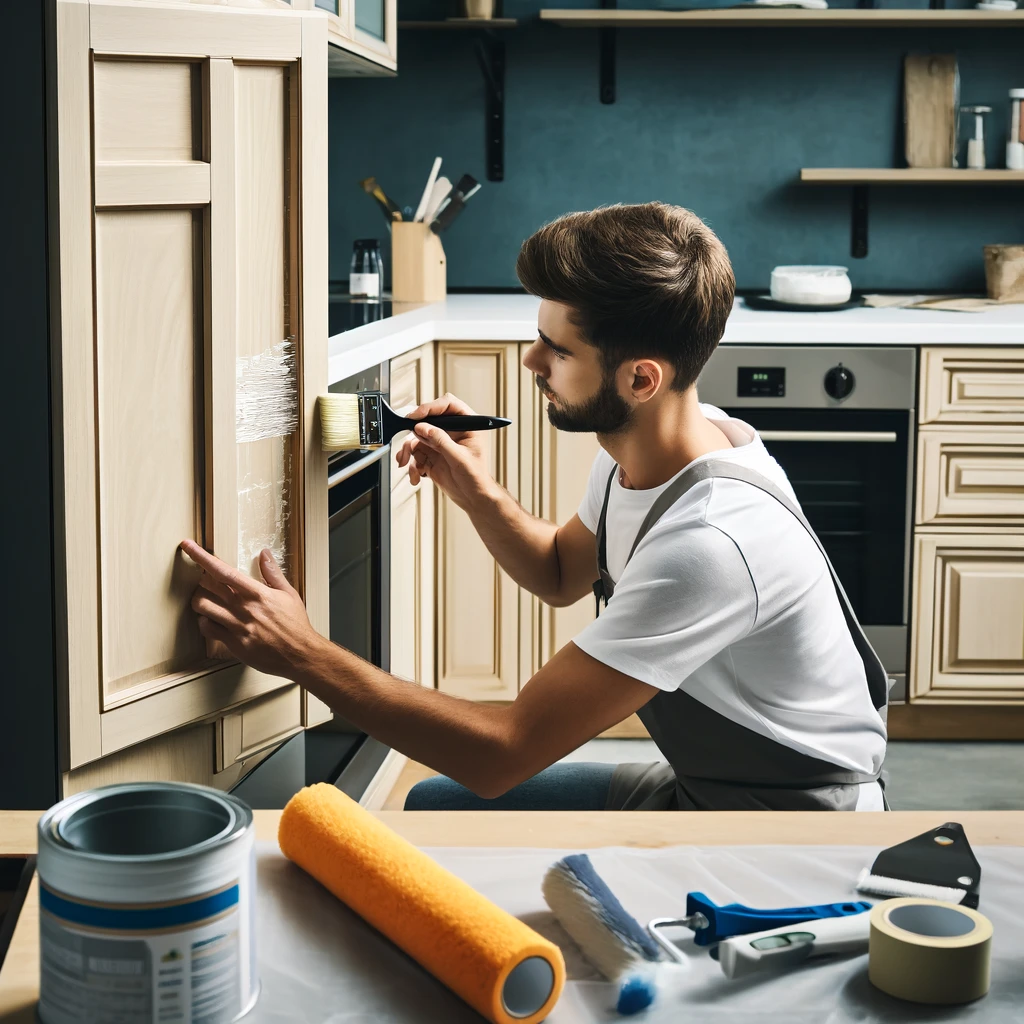
To secure a professional-quality finish on your kitchen cabinets, precise technique and appropriate tools are indispensable.
Invest in Tools
Begin with investing in premium brushes and rollers, as these tools are instrumental in achieving a sleek, smooth application.
A high-quality angled brush is ideal for detailed areas and corners, while microfiber rollers can provide a uniform coating on larger flat surfaces.
Apply In Layers
Applying paint in multiple thin layers rather than a single thick one is another key strategy.
This approach not only prevents drips and sagging but also ensures thorough drying and better adhesion between coats.
Patience
Patience during this phase pays off in the form of a more refined and enduring finish.
Good Lighting
Additionally, don’t underestimate the importance of lighting in your work area.
Good lighting can highlight imperfections you might overlook under poor light conditions, allowing you to address them promptly.
This is especially crucial during the prep and painting stages.
Hard To Reach Places
For those hard-to-reach areas or intricate details, consider using a small foam roller or a high-density foam brush.
These tools can help apply paint evenly in crevices and molding without leaving brush marks.
Scuff Sanding
Another pro tip is to lightly sand between coats with very fine sandpaper or a sanding sponge.
This step, known as scuff sanding, is not about removing paint but rather creating a slightly rough surface that the next coat can adhere to more effectively.
Clean Off Dust
Remember to clean off the dust after sanding before applying the next coat.
Allow Drying Between Coats
Finally, allowing adequate drying time between coats is essential. Rushing this process can lead to tackiness and an uneven finish.
Follow the paint manufacturer’s recommended drying times for the best results.
With careful preparation, the right tools, and a methodical approach, achieving a professional-looking finish on your kitchen cabinets is entirely within reach.
Maintenance and Care for Painted Cabinets
Maintaining the pristine condition of your newly painted kitchen cabinets requires regular attention and the right approach to cleaning.
Wipe Regularly
To prevent the accumulation of dirt, grime, and grease, which can all degrade the paint over time, it’s advisable to wipe down your cabinets regularly with a soft cloth dampened with a gentle cleaning solution.
Create this solution by mixing a few drops of dish soap with warm water for an effective yet gentle cleanser.
Avoid Scrubbing Pads
Avoid using scrubbing pads or abrasive cleaners, as these can scratch or dull the finish of your cabinets.
For tougher stains, a solution of baking soda and water can be applied gently with a soft, damp cloth, followed by a clean water rinse.
Avoid Soaking
Always avoid soaking the cabinets and ensure any moisture is wiped away promptly to prevent damage.
Be Mindful
In addition to regular cleaning, being mindful of how you use and treat your cabinets is important.
Avoid Moisture
Avoid hanging damp towels over cabinet doors, as the excess moisture can affect the paint.
Install Bumpers
Installing cabinet door and drawer bumpers can also minimize wear and tear by preventing harsh closing impacts.
By adhering to a routine cleaning schedule and treating your painted cabinets with care, you can enjoy the fresh, beautiful look of your kitchen for many years.
Regular maintenance not only preserves the aesthetic appeal but also the structural integrity of your cabinetry, ensuring it remains a functional and stylish part of your kitchen.
The Cost Factor: Budgeting for Your Cabinet Painting Project

Planning and executing a cabinet painting project in your kitchen involves careful consideration of various cost components.
DIY or Professionals?
The total expenditure will depend significantly on whether you decide to DIY or hire professionals, the quality of the materials (paint, primer, cleaning supplies) you opt to use, and the size and condition of your cabinets.
For those inclined to take the DIY route, the primary expenses will include purchasing high-quality paint, primer, brushes, rollers, and cleaners.
High-End Paints
High-end paints, like those from Benjamin Moore, Sherwin-Williams, and Behr, may come with a higher price tag but are recommended for their durability and finish quality.
Quality Brushes and Rollers
Additionally, investing in good quality brushes and rollers can significantly affect the smoothness and uniformity of your paint job.
Kitchen Size
For a medium-sized kitchen, the materials alone could range from $200 to $600, depending on the brands and quantities required.
On the other hand, hiring professionals can considerably increase the project cost but comes with the advantage of expert craftsmanship and time saved.
Hiring Professionals
Professional painting services can range from $1,000 to over $5,000, influenced by labor costs in your region, the complexity of your cabinetry, and the level of prep work needed.
Extra Supplies
Regardless of the approach, don’t overlook the potential need for extra supplies, such as sandpaper, tack cloths, painter’s tape, and safety equipment, which can add to the overall cost.
Unforseen Issues
Additionally, unforeseen issues like repairs to damaged wood or the necessity for an additional coat of primer or paint can further impact your budget.
Ultimately, while the initial investment may seem significant, updating your kitchen cabinets with paint can dramatically transform the space at a fraction of the cost of a full remodel.
Planning your budget with these considerations in mind will help ensure a smooth project flow and a satisfying end result.
Related Articles:
Why You Should Consider Food Grade Mineral Oil in Your Kitchen
Cut Through Grime: The Best Dishwasher Cleaner Review
As an Amazon Associate, I earn commission from qualifying purchases.