
Steak lovers, rejoice!
There’s a cooking method that can elevate your steak game to new heights, ensuring a perfectly cooked steak every time – Reverse Sear Stake.
Say goodbye to overcooked edges and undercooked centers, and say hello to the reverse sear steak technique.
In this comprehensive guide, we’ll delve into the art of the reverse sear steak, explaining what it is, why it works, and how you can master it at home.
By the end of this post, you’ll be equipped with all the knowledge you need to impress your friends and family with restaurant-quality steaks.
Introduction to Reverse Sear Steak
For many, cooking the perfect steak can be a daunting task. Traditional methods often leave you with a steak that’s overcooked on the outside and undercooked on the inside.
The reverse sear steak technique flips the script, allowing you to achieve a perfectly even cook and a beautiful crust every time.
But what exactly is reverse sear steak, and why should you consider it?
What is Reverse Sear Steak?
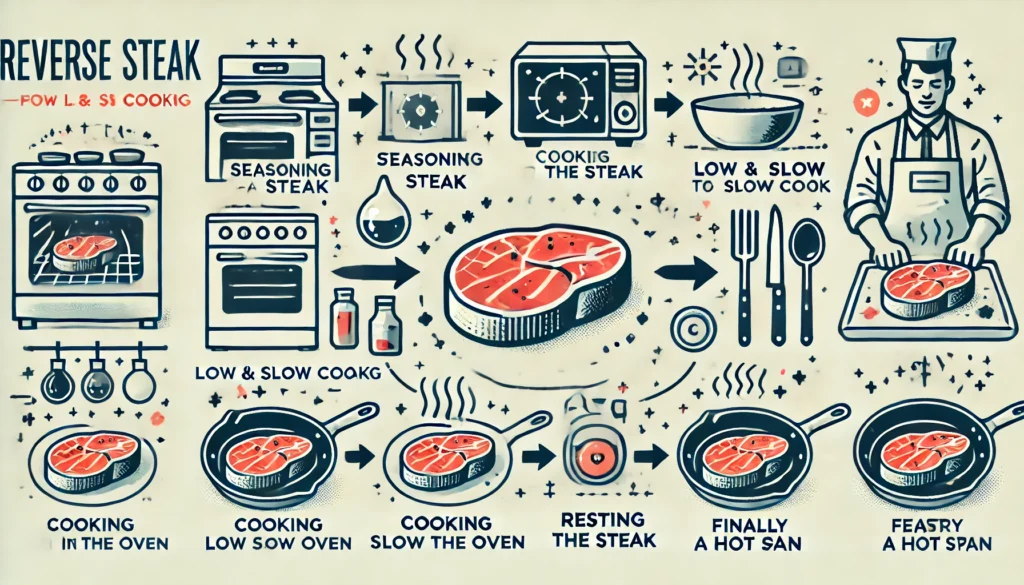
Reverse sear steak is a cooking method that involves slowly cooking the steak at a low temperature in an oven or grill, then searing it in a hot pan or grill at the end.
This technique allows for greater control over the internal temperature of the steak, ensuring that it is cooked evenly throughout.
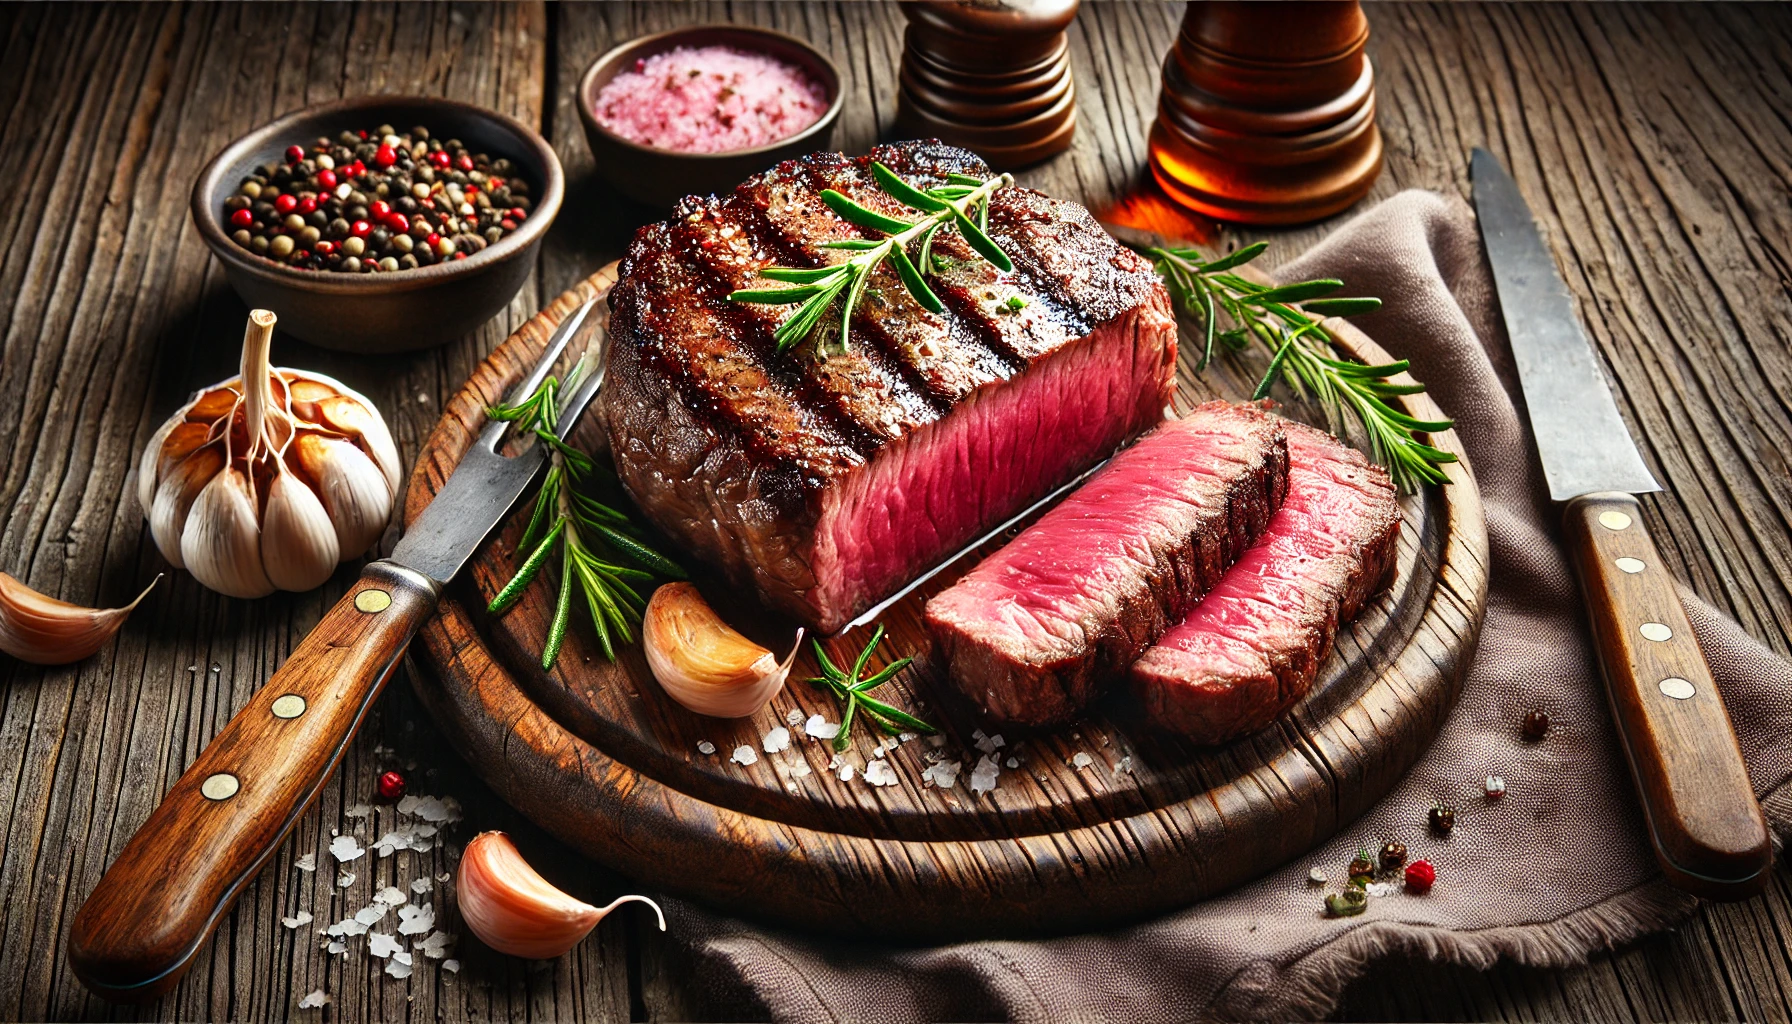
The result is a steak with a perfectly pink center and a deliciously crispy crust.
Why Reverse Sear Steak?
The benefits of reverse sear steak are numerous.
First and foremost, it offers unparalleled precision in cooking.
By slowly bringing the steak to your desired temperature, you can avoid the common pitfalls of overcooking or undercooking.
Additionally, the reverse sear method enhances the flavor and texture of the steak.
The slow cooking process allows the meat’s natural juices to redistribute, resulting in a tender and juicy steak.
The final sear adds a flavorful crust that is hard to achieve with traditional methods.
The Science Behind Reverse Sear Steak
Understanding the science behind reverse sear steak can help you appreciate why this method works so well.
When you cook a steak using traditional methods, the high heat causes the outer layers to cook much faster than the interior.
This often results in a steak that is well-done on the outside and rare in the center.
Heat Distribution
With reverse sear steak, the initial low and slow cooking phase allows the heat to distribute more evenly throughout the meat.
This gradual increase in temperature ensures that the entire steak reaches the desired level of doneness without overcooking the outer layers.
Maillard Reaction
The final searing step is crucial for achieving the perfect crust. This is where the Maillard reaction comes into play.
The Maillard reaction is a chemical process that occurs when amino acids and reducing sugars in the meat react under high heat, creating complex flavors and aromas.
By searing the steak at the end, you can achieve a beautifully caramelized crust that enhances the overall taste of the steak.
How to Reverse Sear Steak: A Step-by-Step Guide
Now that you understand the basics of reverse sear steak, let’s dive into the step-by-step process.
Whether you’re using an oven or a grill, the reverse sear method is straightforward and easy to follow.
Choosing the Right Steak
Before you begin, it’s important to select the right cut of steak.
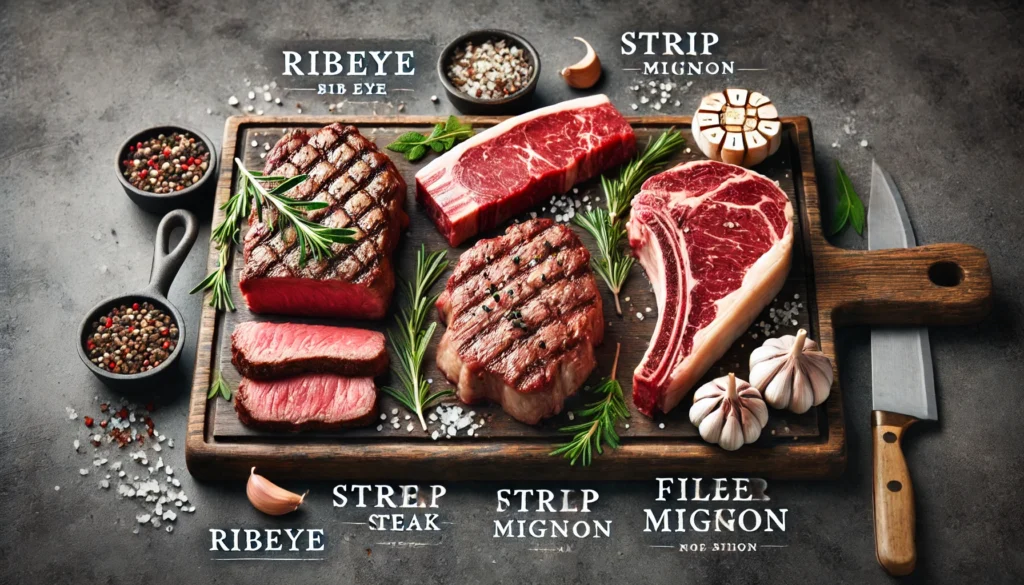
The reverse sear method works best with thicker cuts of meat, typically 1.5 to 2 inches thick.
Ribeye, strip steak, and filet mignon are excellent choices.
Thicker cuts ensure that the steak cooks evenly during the initial phase and develops a beautiful crust during the searing phase.
Seasoning the Steak
Proper seasoning is key to enhancing the flavor of your steak.
Use freshly ground black pepper and sea salt to season the steak generously.
You can also add other seasonings and herbs to suit your taste.
Let the steak sit at room temperature for about 30 minutes to allow the seasoning to penetrate the meat.
Cooking the Steak Low and Slow
Using an Oven
- Preheat Your Oven: Set your oven to 250°F (120°C). A low temperature is essential for the slow cooking phase.
- Prepare a Baking Sheet: Place a wire rack on a baking sheet. This allows for even air circulation around the steak.
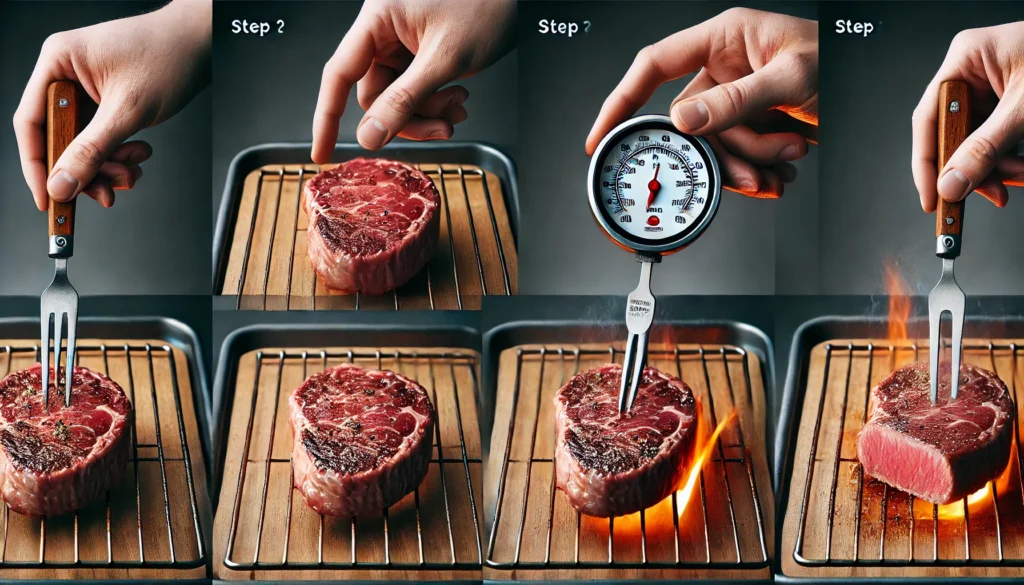
- Cook the Steak: Place the seasoned steak on the wire rack and insert a meat thermometer into the thickest part of the steak. Cook the steak in the oven until it reaches an internal temperature of 10-15°F below your desired final temperature (typically around 115°F for medium-rare).
- Rest the Steak: Remove the steak from the oven and let it rest for 10 minutes. This resting period allows the juices to redistribute within the meat.
Using a Grill
- Preheat Your Grill: Set up your grill for indirect cooking by turning on only one side of the burners or arranging the coals to one side.
- Cook the Steak: Place the steak on the cool side of the grill and cook it slowly until it reaches the desired internal temperature, following the same guidelines as for the oven method.
- Rest the Steak: Let the steak rest for 10 minutes after removing it from the grill.
Searing the Steak
- Heat a Pan or Grill: Preheat a cast-iron skillet or grill to high heat. Add a small amount of oil with a high smoke point, such as canola or grapeseed oil.
- Sear the Steak: Sear the steak for 1-2 minutes on each side until a rich, brown crust forms. Be sure to sear the edges as well for a complete crust.
- Check the Temperature: Use a meat thermometer to ensure the steak has reached your desired final temperature (typically 125°F for medium-rare).
Tips for Perfect Reverse Sear Steak

Mastering the reverse sear steak technique takes practice, but these tips can help you achieve perfection every time.
Use a Meat Thermometer
A meat thermometer is your best friend when cooking reverse sear steak.
It ensures that you cook the steak to the precise temperature, preventing overcooking or undercooking.
Invest in a good-quality meat thermometer for accurate readings.
Let the Steak Rest
Resting the steak after the initial cooking phase and before searing is crucial.
This allows the juices to redistribute throughout the meat, resulting in a juicy and tender steak. Resist the temptation to skip this step.
Choose the Right Pan for Searing
A cast-iron skillet is ideal for searing because it retains heat well and provides an even sear. If using a grill, make sure it’s preheated to high heat to achieve the best crust.
Experiment with Seasonings
While salt and pepper are classic seasonings for steak, don’t be afraid to experiment with other flavors.
Garlic powder, smoked paprika, and fresh herbs like rosemary and thyme can add depth to your reverse sear steak.
Common Mistakes to Avoid
Even with the best intentions, mistakes can happen.
Here are some common pitfalls to watch out for when making reverse sear steak.
Overcooking During Initial Phase
One of the most common mistakes is overcooking the steak during the initial low-temperature phase.
Remember, the steak will continue to cook during the searing process, so it’s better to undercook slightly in the oven or grill.
Not Preheating the Pan
A properly preheated pan is essential for achieving a good sear.
If the pan isn’t hot enough, the steak will cook too slowly, resulting in a less desirable crust.
Make sure your pan or grill is smoking hot before adding the steak.
Skipping the Resting Period
Skipping the resting period after the initial cook can result in a less juicy steak.
Always let your steak rest for at least 10 minutes to allow the juices to settle.
Reverse Sear Steak Variations
Once you’ve mastered the basic reverse sear steak technique, you can experiment with different variations to suit your taste preferences.
Herb-Crusted Reverse Sear Steak
For an extra burst of flavor, try an herb-crusted reverse sear steak.
Mix finely chopped fresh herbs like rosemary, thyme, and parsley with minced garlic and olive oil.
After seasoning the steak with salt and pepper, coat it with the herb mixture before the initial cooking phase.
The result is a flavorful crust that complements the juicy interior.
Reverse Sear Steak with Compound Butter
Enhance your reverse sear steak by finishing it with compound butter.
Compound butter is simply butter mixed with herbs, garlic, and other seasonings.
After searing the steak, place a dollop of compound butter on top and let it melt over the meat.
This adds a rich, savory flavor and an extra layer of decadence.
Smoked Reverse Sear Steak
For a smoky twist, try smoking your steak before searing.
Use a smoker or add wood chips to your grill during the initial cooking phase.
The smoke will infuse the steak with a deliciously smoky flavor.
Finish by searing the steak as usual for a perfect combination of smoky and seared goodness.
Reverse Sear Steak for Special Occasions

Reverse sear steak is not only a fantastic technique for everyday cooking but also an impressive dish for special occasions.
Whether you’re hosting a dinner party, celebrating a holiday, or simply treating yourself to a gourmet meal, reverse sear steak can elevate any dining experience.
Dinner Parties
Impress your guests with perfectly cooked reverse sear steak at your next dinner party.
The even cook and beautiful crust will leave your guests wondering how you achieved such a restaurant-quality result.
Pair the steak with a selection of side dishes, such as roasted vegetables, mashed potatoes, and a fresh salad, for a complete meal.
Holiday Celebrations
Reverse sear steak is a show-stopping centerpiece for holiday celebrations.
Whether it’s Christmas, Thanksgiving, or a birthday, a perfectly cooked steak is sure to delight your family and friends.
Serve the steak with traditional holiday sides like stuffing, cranberry sauce, and green bean casserole for a memorable feast.
Date Nights
Treat your significant other to a romantic dinner with reverse sear steak.
The tenderness and flavor of the steak will make for a memorable meal that shows you care.
Pair the steak with a glass of red wine and a decadent dessert for the perfect date night experience.
Conclusion: Elevate Your Cooking with Reverse Sear Steak

Reverse sear steak is a game-changer for steak lovers.
This technique allows you to achieve a perfectly cooked steak with a beautiful crust every time.
By understanding the science behind reverse sear steak and following the step-by-step guide, you can master this method and impress your friends and family with restaurant-quality steaks.
Whether you’re cooking for a special occasion or simply want to enjoy a delicious steak at home, reverse sear steak is the way to go.
Experiment with different variations, use high-quality ingredients, and remember to take your time.
With practice and attention to detail, you’ll be able to transform your steak game forever.
So, fire up your oven or grill, grab your favorite cut of steak, and get ready to experience the magic of reverse sear steak.
Happy cooking!
The Ultimate Reverse Sear Steak Recipe: Perfectly Juicy & Flavorful Every Time!
Ingredient List:
- 2 thick-cut steaks (1.5 to 2 inches thick; Ribeye, Strip Steak, or Filet Mignon recommended)
- Kosher salt (to taste)
- Freshly ground black pepper (to taste)
- 1-2 tablespoons high smoke point oil (canola or grapeseed oil)
- Optional seasonings: garlic powder, smoked paprika, fresh herbs (rosemary, thyme)
Equipment You’ll Need:
- Oven
- Wire rack
- Baking sheet
- Meat thermometer
- Cast-iron skillet or grill
- Tongs
- Small bowl (for mixing optional seasonings)
- Cutting board (for resting and slicing the steak)
Instructions
- Preheat the Oven:
- Preheat your oven to 250°F (120°C). This low temperature is crucial for the slow cooking phase.
- Prepare the Steaks:
- Cook the Steaks Low and Slow:
- Place a wire rack on a baking sheet to allow for even air circulation around the steaks.
- Place the seasoned steaks on the wire rack and insert a meat thermometer into the thickest part of one steak.
- Cook the steaks in the preheated oven until they reach an internal temperature of 10-15°F below your desired final temperature. For medium-rare, aim for around 115°F.
- Rest the Steaks:
- Remove the steaks from the oven and let them rest for 10 minutes. This resting period allows the juices to redistribute within the meat.
- Preheat the Pan or Grill:
- While the steaks are resting, preheat a cast-iron skillet or grill to high heat. Add 1-2 tablespoons of high smoke point oil to the skillet.
- Sear the Steaks:
- Once the pan or grill is smoking hot, sear the steaks for 1-2 minutes on each side until a rich, brown crust forms. Be sure to sear the edges as well for a complete crust.
- Check the Temperature:
- Use a meat thermometer to ensure the steaks have reached your desired final temperature (typically 125°F for medium-rare).
- Serve:
Tips
- Use a Meat Thermometer: For precise cooking, use a meat thermometer to monitor the internal temperature of the steaks.
- Let the Steaks Rest: Resting the steaks is crucial for juicy, tender meat.
- Choose the Right Pan: A cast-iron skillet retains heat well and is ideal for searing.
Servings
- Servings: 2
Nutrition Information (per serving)
- Calories: 650 kcal
- Protein: 50g
- Fat: 48g
- Saturated Fat: 18g
- Carbohydrates: 0g
- Fiber: 0g
- Sugar: 0g
- Sodium: 800mg (depending on amount of salt used)
Enjoy your restaurant-quality reverse sear steak, and impress your friends and family with your culinary skills!
Related Articles:
How to Cook Tenderloin Steak Perfectly Every Time
Unlock Flavor: The Best Way to Cook Halibut
As an Amazon Associate, I earn commission from qualifying purchases.